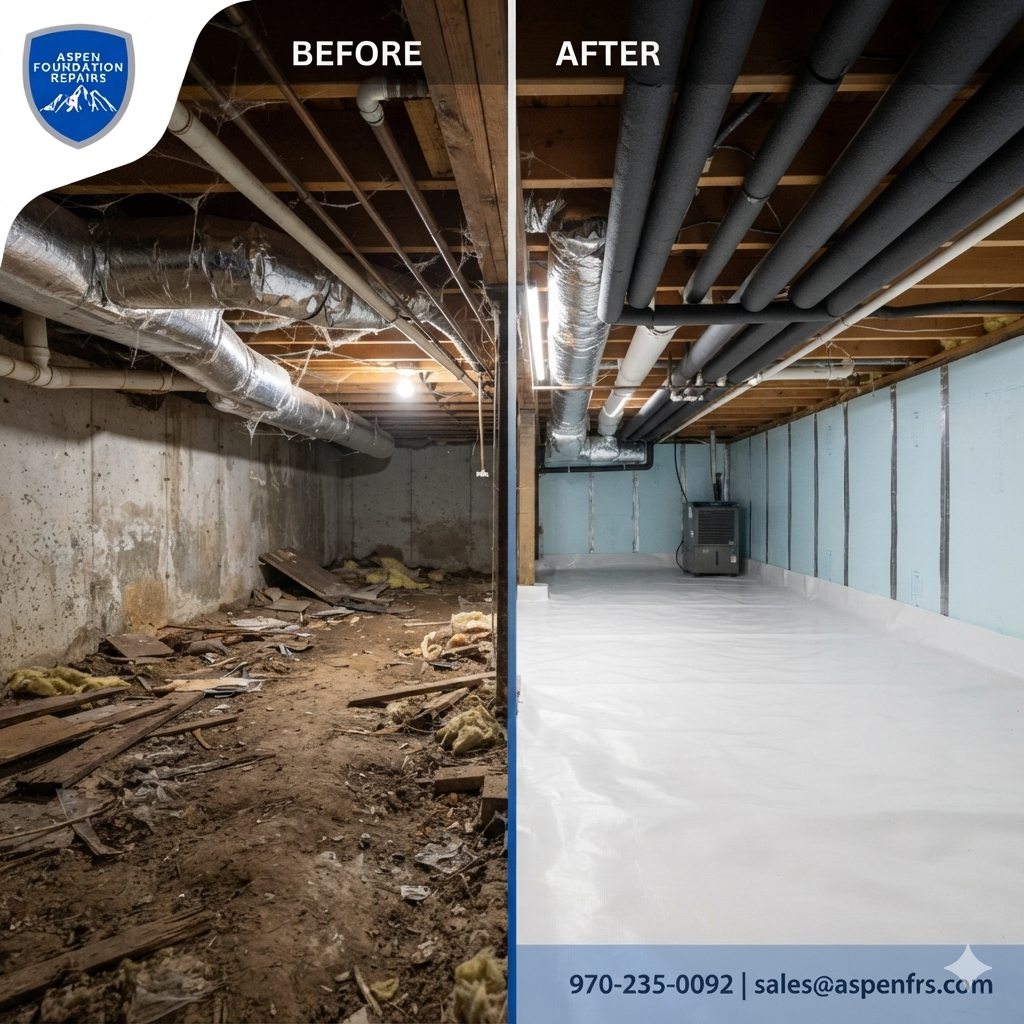

Why the crawl space decides how your winter goes
In Western Colorado, night temperatures drop hard well before the snow settles in. An open, vented crawl space pulls that cold air straight under your floor, chilling supply lines and the rooms above them. At the same time, warm indoor air rising through the house draws damp air up out of the dirt below — the stack effect — which is why a crawl space that smells musty in July causes cold floors and frost-damp framing in January.
Winterizing is not one big project. It is four steps done in order, and each one makes the next one work better.
Key takeaways
- Seal foundation vents and every penetration before the first hard freeze
- Insulate supply lines and the subfloor so pipes stay above freezing
- Keep ground moisture out with a sealed vapor barrier, not just plastic laid loose
- Full encapsulation is the long-term fix — warmer floors, dry framing, lower bills
Step 1: Seal vents and every penetration
Foundation vents were designed to dry a crawl space with outside air. In our climate they mostly deliver cold, and in the shoulder seasons they deliver humidity. Close and insulate them with rigid foam vent covers sealed at the perimeter, not a scrap of plywood.
- Cover and air-seal all foundation vents before the first hard freeze
- Foam and caulk around plumbing, gas lines, electrical, and dryer vents
- Seal the rim joist and sill plate — the single biggest air leak down there
- Weatherstrip the crawl space access door and add a rigid, gasketed cover
- Check that hose bibs are shut off and drained from inside the crawl space
Ready to put your home back on solid ground?
Free on-site inspection, written fixed price, and warrantied work by our own crews.
Step 2: Insulate pipes and the subfloor
Frozen pipes are the most expensive thing a crawl space does to a home. Insulate every water line — supply and drain runs along exterior walls first — with closed-cell foam sleeves, taped at the seams so no bare copper or PEX is exposed at elbows and hangers.
For the subfloor, rigid foam board against the crawl space walls holds heat far better than batts hung between joists. Fiberglass batts sag, absorb moisture, and end up on the ground by spring.
- Foam-sleeve all water lines, including elbows, valves, and hanger points
- Insulate crawl space walls with rigid foam rather than joist batts
- Add heat tape on pipes in the coldest, most exposed corners
- Remove sagging, wet fiberglass instead of insulating over it
Step 3: Control the moisture already down there
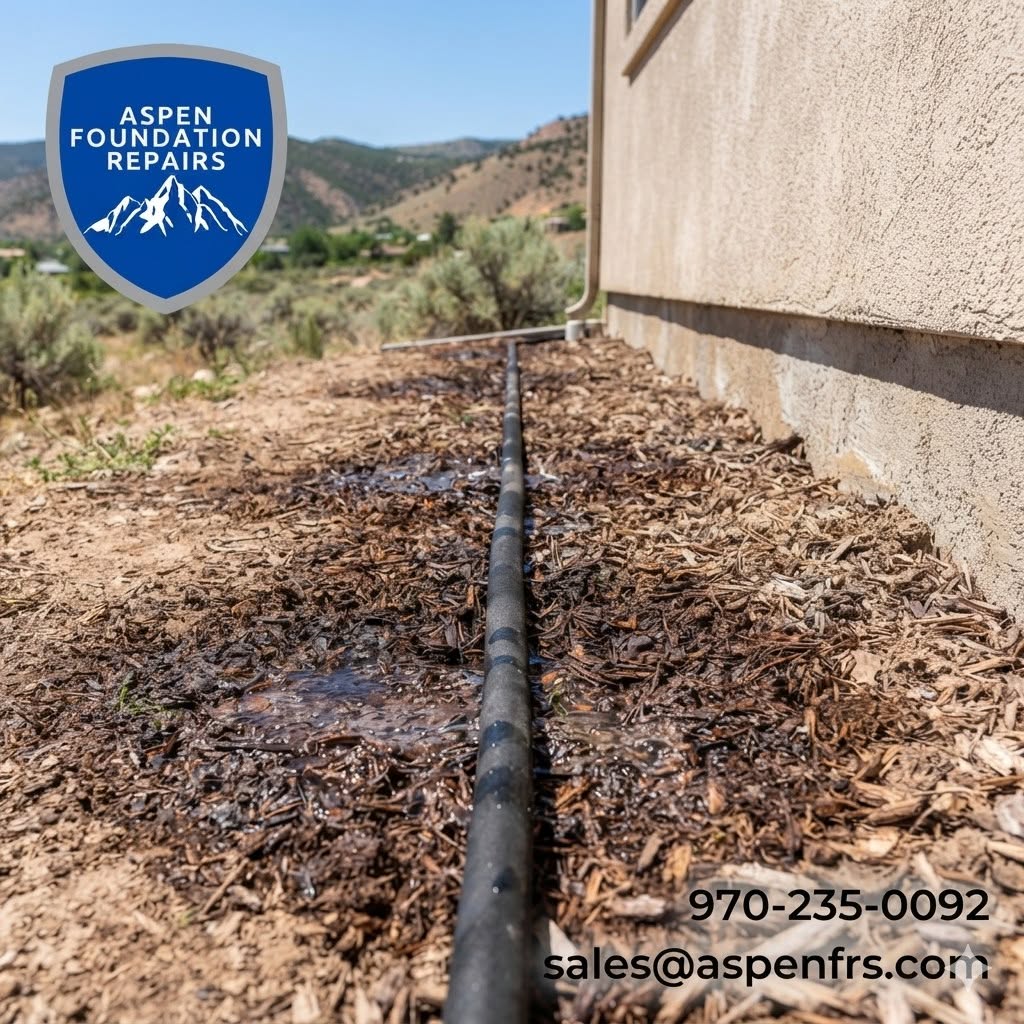
Cold air plus damp soil equals condensation on framing, ducts, and pipes. Before you close the space up for winter, get the water under control — a sealed space over wet dirt just traps the moisture inside.
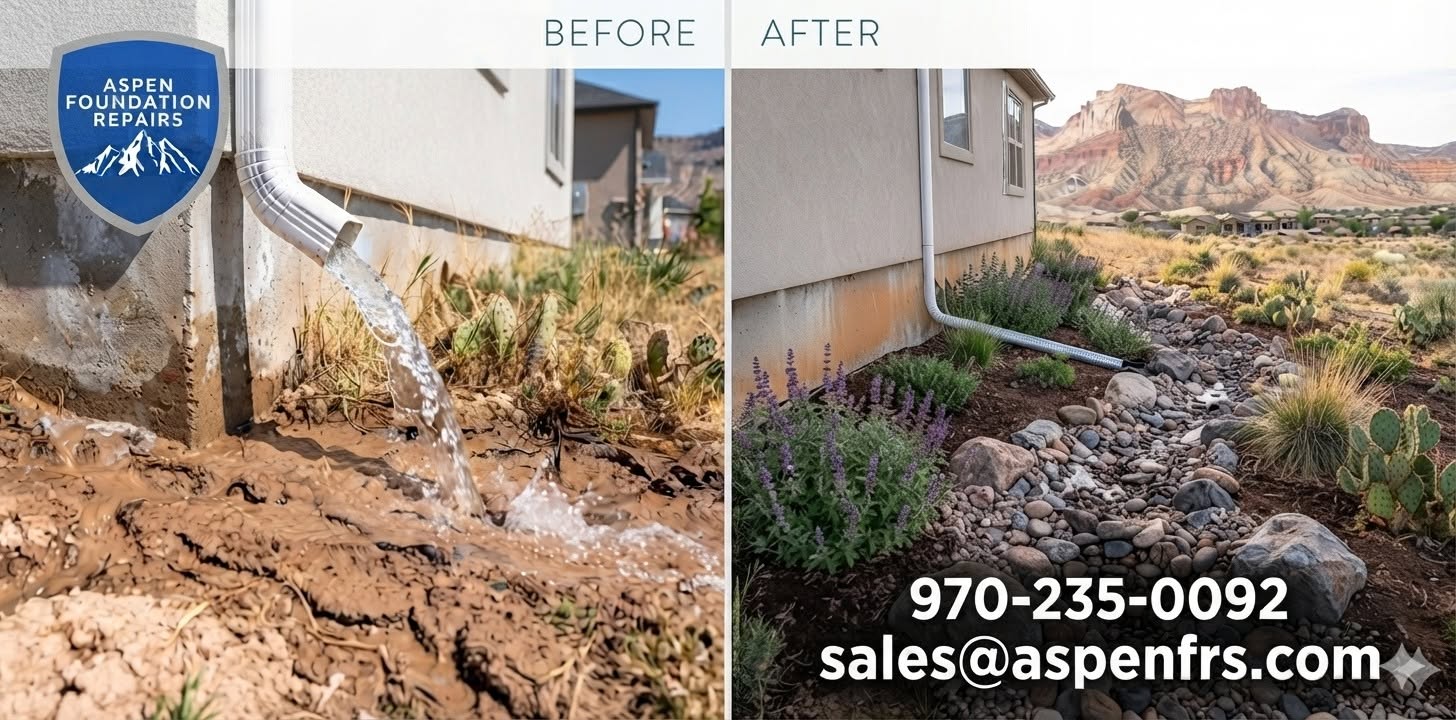
That means grading and downspouts that carry snowmelt away from the foundation, a drain and sump if groundwater rises, and a real vapor barrier over the soil.
- Extend downspouts and discharge lines well past the foundation
- Regrade so snowmelt runs away from the house, not toward it
- Install interior drainage and a sump where groundwater collects
- Cover the soil with a sealed, seam-taped vapor barrier — not loose plastic
- Add a crawl space dehumidifier if humidity stays above 55 percent
Ready to put your home back on solid ground?
Free on-site inspection, written fixed price, and warrantied work by our own crews.
Step 4: Encapsulate for a permanent fix
Encapsulation ties all of it together: a heavy-duty liner across the floor and up the walls, sealed at every seam, pier, and penetration, with insulated walls, a conditioned or dehumidified interior, and a sealed access. The crawl space becomes part of the building envelope instead of a hole under your house.
Homeowners notice warmer floors and steadier heating bills first. What matters more is what stops happening — frozen lines, mold on joists, insulation on the ground, and that musty smell moving upstairs.
- 20-mil reinforced liner sealed to walls, piers, and penetrations
- Rigid foam wall insulation and a sealed, insulated access door
- Dedicated crawl space dehumidifier with a drain
- Drainage and sump integrated where groundwater is present
- Warmer floors, lower humidity, and framing that stays dry year round
Do it before the ground freezes
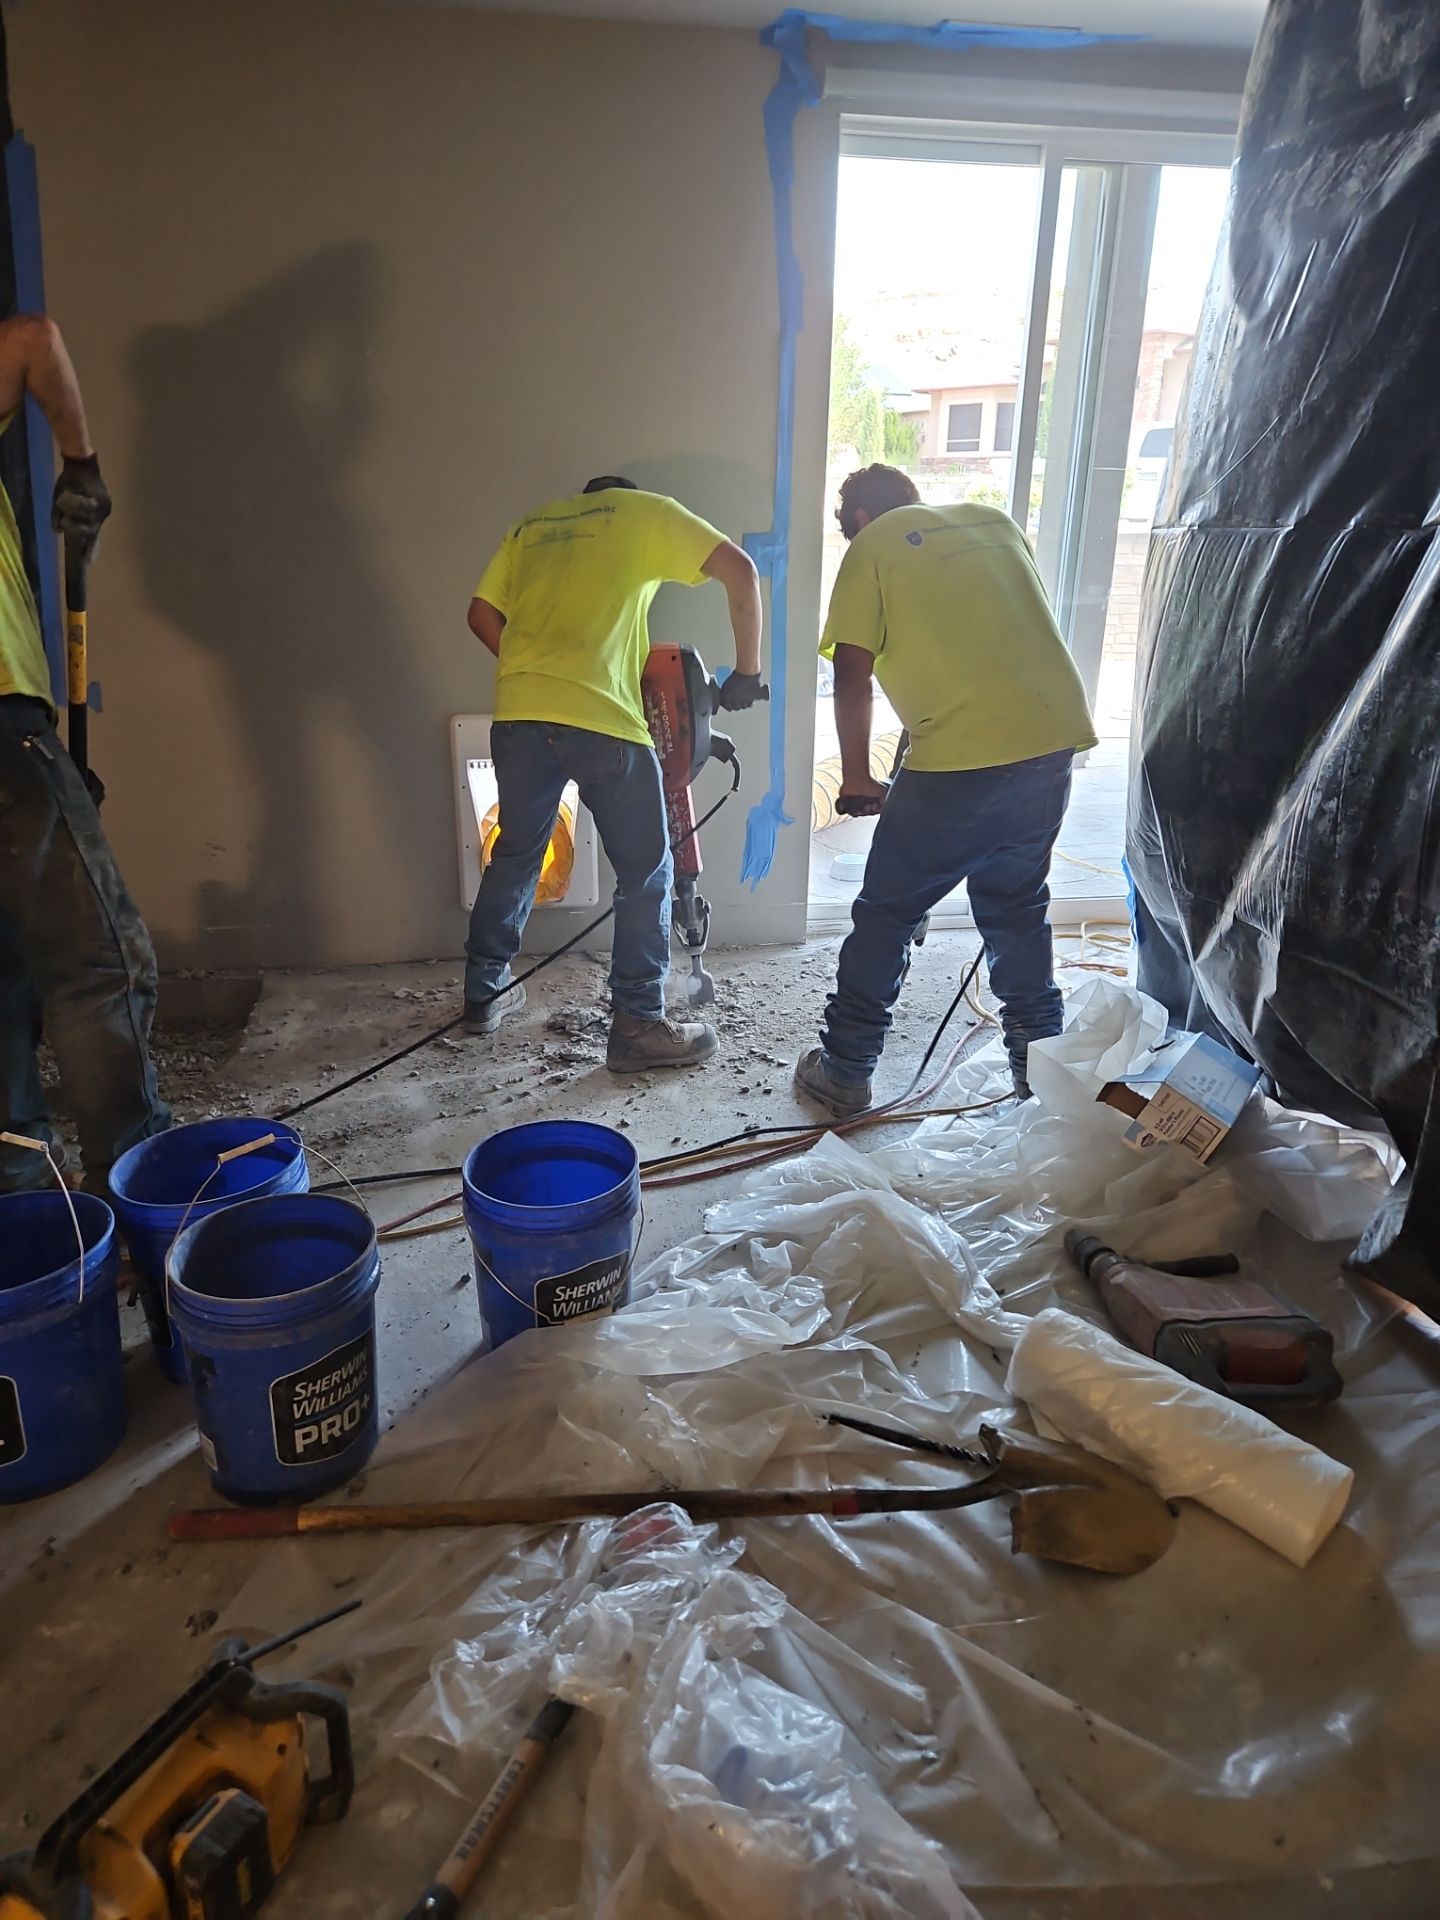
Once the ground freezes, grading, drainage, and exterior work get expensive or impossible, and a crawl space problem you can fix in October becomes an emergency in January. Late summer through fall is the window.
We inspect crawl spaces for free across Mesa, Garfield, Pitkin, and Eagle counties and hand you a written, fixed price. Call 1-970-235-0092 and we will tell you exactly what your crawl space needs before the snow flies.